RV-9A: Right Elevator - 11/29/2005
Home Previous Entry Next Entry Back |
Share on:

|
|
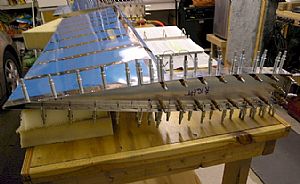 Clecoed and final drilled the Elevator skins to the Counter Balance Arms Clecoed and final drilled the Elevator skins to the Counter Balance Arms
I was a little confused about when or if I was supposed to do this now, so I did it anyway. It was thrilling to see these pieces put together. This is such a cool aircraft!
|
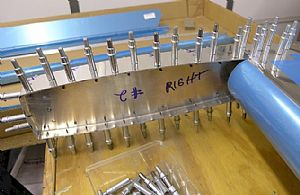 Another shot of the Counter Balance Arm in place Another shot of the Counter Balance Arm in place
|
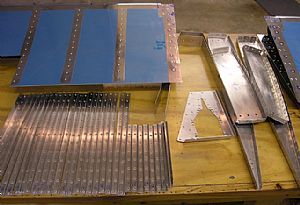 Finished deburring, sanding and dimpling the elevator inerds Finished deburring, sanding and dimpling the elevator inerds
Datsa' lotta' parts!! And there is still more to come!
|
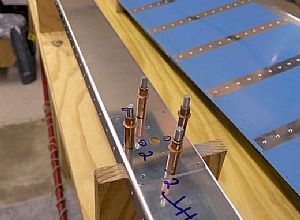 Clecoed and final drilled the E-910 reinforcement plates to the E-902 spar Clecoed and final drilled the E-910 reinforcement plates to the E-902 spar
I was wondering whether to go ahead and do both left and right E-902 spars. I jumped ahead in the instructions to the Left Elevator construction section and found the reinforcement plate/spar part assembly mentioned, so I decided to wait.
|
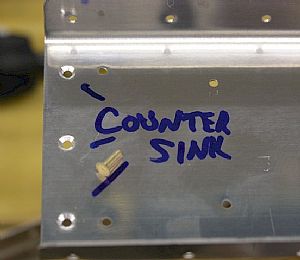 Countersinked the E-902 spar for the flat head rivets that will attach the E-906 rib Countersinked the E-902 spar for the flat head rivets that will attach the E-906 rib
After clecoing and match drilling the E-906 end rib to the E-902 spar, I carefully countersunk the E-902 holes, checking each hole with a flat head rivet to make sure I had a flush fit.
|
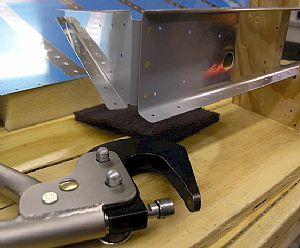 Sanded, primed and riveted E-906 end rib to the E-902 spar Sanded, primed and riveted E-906 end rib to the E-902 spar
This was a little weird, pulling these parts fresh out of the box and being instructed to rivet them together. The rib and the spar would still need to be clecoed and final drilled to the elevator skin. There wasn't any mention of sanding edges or priming these parts at the attachment point, so I did it anyway. Also the instructions said that it would OK to bend the E-906 rib to allow riveting. I used my Avery rivet squeezer with the no-hole yoke and didn't have any problem putting in the rivets. No rib-bending was required.
|
Home Previous Entry Next Entry Back
|