
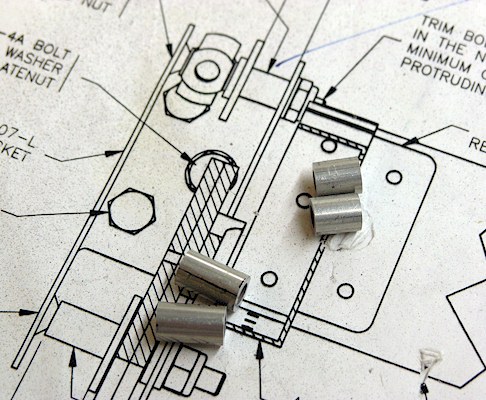
Cut the spacers for the aileron attach bracket bolts
These parts are pretty small. I had to be really careful while using the bandsaw and the bench sander.
These parts are pretty small. I had to be really careful while using the bandsaw and the bench sander.
Deviating from the plans
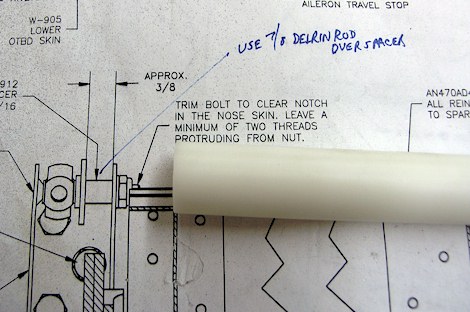
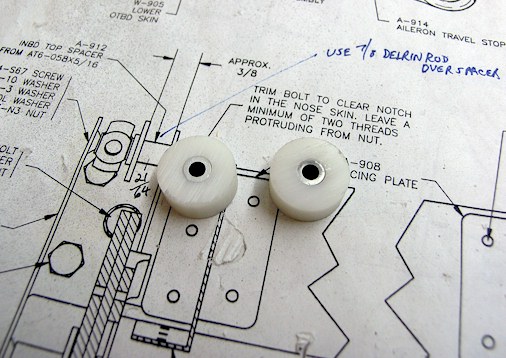
This is how I did this, NOT how you should do it (CYA). I've read on some of the email groups about some builders that are opting to use Delrin rods as control stops rather than the aluminum control stops as called for in the plans. This seemed to me to be an elegant solution to this application. The rod I chose is 7/8 inches in diameter as is about the same size as the washer that goes next to it. From what I understand the RV-7 and the RV-8 uses a small diameter delrin rod. I got the idea for using a delrin rod from an RV8 website that I found, and purchased mine from Aircraft Spruce.
This is how I did this, NOT how you should do it (CYA). I've read on some of the email groups about some builders that are opting to use Delrin rods as control stops rather than the aluminum control stops as called for in the plans. This seemed to me to be an elegant solution to this application. The rod I chose is 7/8 inches in diameter as is about the same size as the washer that goes next to it. From what I understand the RV-7 and the RV-8 uses a small diameter delrin rod. I got the idea for using a delrin rod from an RV8 website that I found, and purchased mine from Aircraft Spruce.
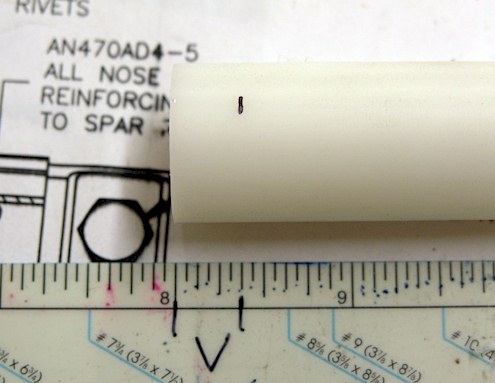
Cutting the Delrin rod
I marked 3/8 of an inch on the rod.
I marked 3/8 of an inch on the rod.
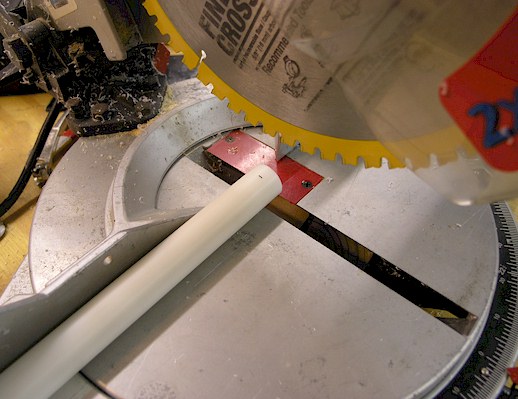
The cut
I wanted a true 90 degree angle cut on the rod, so I opted to use my power miter saw to make the cut. The combination blade had no trouble cutting this hard plastic.
I wanted a true 90 degree angle cut on the rod, so I opted to use my power miter saw to make the cut. The combination blade had no trouble cutting this hard plastic.
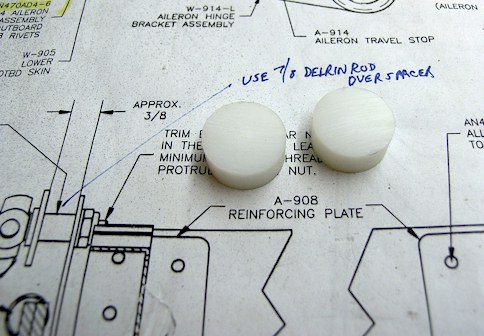
There they are!
Very nice!
Very nice!
Try to drill holes in the Delrin spacer stops
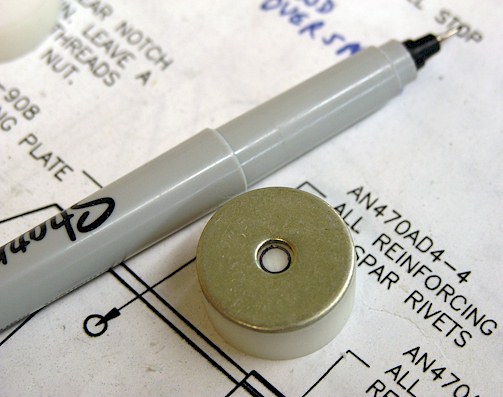
Since the washer that goes next to the spacer stop is almost the same size, I decided to use the washer as a pattern to mark the hole to be drilled.
Since the washer that goes next to the spacer stop is almost the same size, I decided to use the washer as a pattern to mark the hole to be drilled.
Choosing the bit
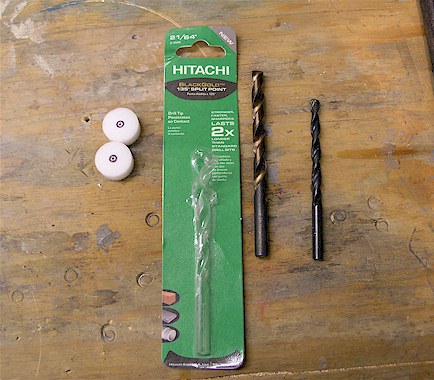
I measured the outer diameter of the previously cut metal spacers and came up with a bit size of 21/64". I had to go to Lowes and get a special bit. I will use this bit to drill the holes in the Delrin spacers. Home Depot doesn't carry special size bits. Go figure...
I measured the outer diameter of the previously cut metal spacers and came up with a bit size of 21/64". I had to go to Lowes and get a special bit. I will use this bit to drill the holes in the Delrin spacers. Home Depot doesn't carry special size bits. Go figure...
Drilled the spacers
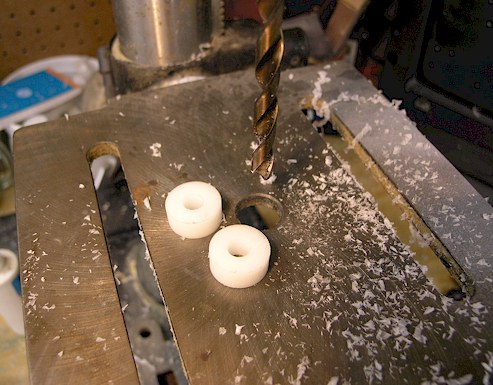
This was pretty easy to do. I used very little pressure in the drill press as I drilled these holes.
This was pretty easy to do. I used very little pressure in the drill press as I drilled these holes.
Finished!
I placed the previously cut metal spacers into the holes in the Delrin spacers. A perfect fit!
I placed the previously cut metal spacers into the holes in the Delrin spacers. A perfect fit!
Temporarily attached the ailerons to the wings
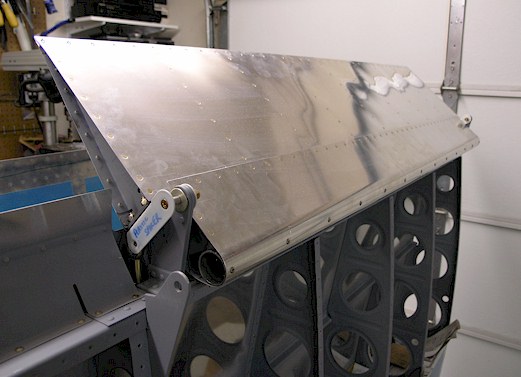
I know that these guys will need to come for wing attachment and painting. So I didn't tighten the bolts all the way. Starting to look like an airplane!
I know that these guys will need to come for wing attachment and painting. So I didn't tighten the bolts all the way. Starting to look like an airplane!
Adjusted the aileron guide angle
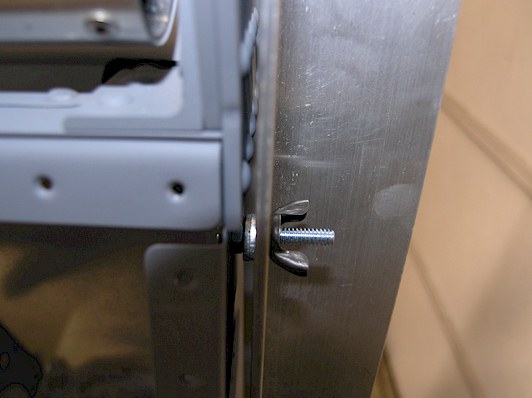
At the beginning of the whole wing thing, the instructions called for an aluminum angle piece to be made with guide holes in it to use now for adjusting the angle of the aileron. I used some washers to get the right distance from the edge of the aileron so it could move without scraping.
At the beginning of the whole wing thing, the instructions called for an aluminum angle piece to be made with guide holes in it to use now for adjusting the angle of the aileron. I used some washers to get the right distance from the edge of the aileron so it could move without scraping.
My homemade aileron holder thingy
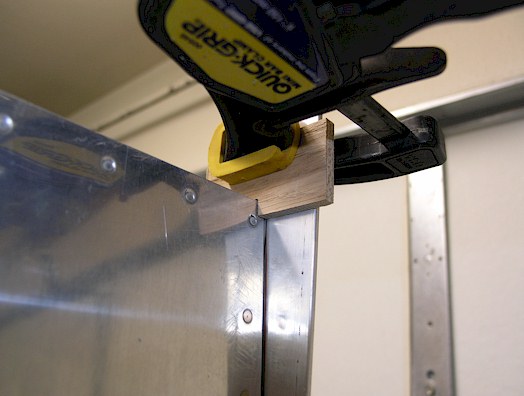
I got a scap piece of plywood and put a notch in it to hold the aileron in its proper position.
I got a scap piece of plywood and put a notch in it to hold the aileron in its proper position.
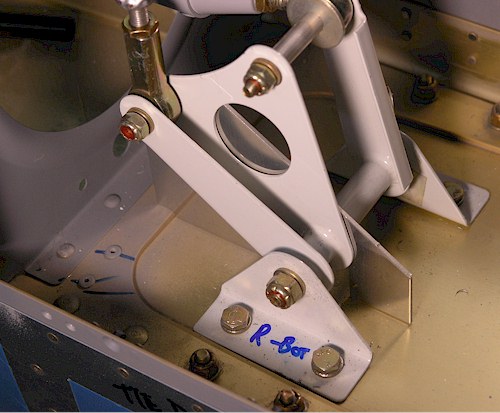
Set up the temporary bell crank guide
There is an odd shape piece of aluminum that it use as a guide to set the incidence of the aileron. Now to tighten lock nuts!
There is an odd shape piece of aluminum that it use as a guide to set the incidence of the aileron. Now to tighten lock nuts!
Looking good!
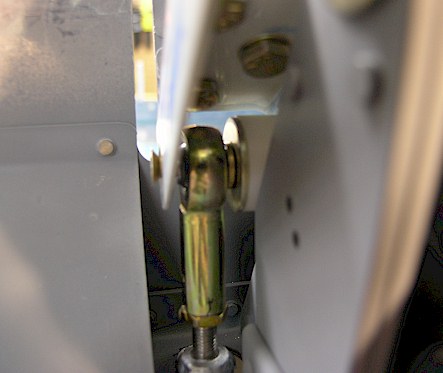
Here's a (blurred) shot showing the delrin rod in place.
Here's a (blurred) shot showing the delrin rod in place.
SmittysRV.com is an Amazon Associate


