|
Share on:


|
|
|
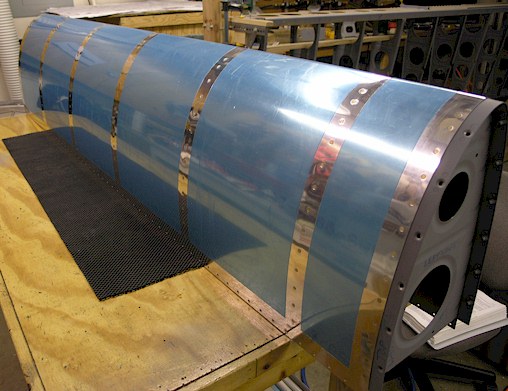
Finished riveting the Leading Edge Assembly
On the previous day, I put in one rivet in the aft end of the leading edge assembly all the way around with my hand squeezer, then put in 2 more rivets all the way around with the 4 inch no-hole yoke on the hand squeezer. All of the other rivets were put in using my rivet gun and bucking bar. I'm still amazed that you can beat the hell out of this assembly with a rivet gun and it still comes out looking great. I used non-stick magic tape over each rivet head to prevent scratching the surface on the skin. The last three rivets on the top leading edge are a real booger. I had to cut one of my bucking bars in half in order to fit it inside to buck them puppies. I put in all of the rivets on the bottom side of the LE so I could lay it down flat on the table. Then I stood behind the LE, holding the modified bucking bar on the rivet with one hand, and reached over to drive the rivets with my rivet gun with the other.
|
|