|
Share on:


|
|
|
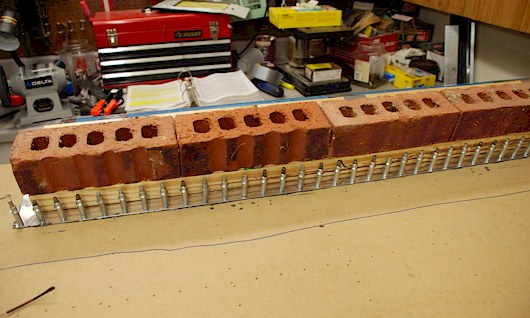
Prosealed and clecoed the trailing edges to the work bench
The method described in the instructions for riveting the trailing edge just didn't any sense to me at all. It sounded like it would be a major wrestling match with a crooked trailing edge in the making. Instead I went back to my success with the straight edge I got on the rudder. I put a layer of proseal on one side of the wedge and another layer on the inner bottom skin. Then I put the whole aileron assembly back into the same position on the work bench where I originally drilled the trailing edge into the table top. I weighted the skin down just as before and started clecoing the trailing edge into the previously drilled holes. It all squeezed down rather nicely. In 48 hours I will take it all apart and easily rivet the trailing edge. There is no way in hell this trailing edge will be crooked.
|
|


