RV-9A: Top Skins and Baggage Area - 9/13/2009
Home Previous Entry Next Entry Back |
Share on:

|
|
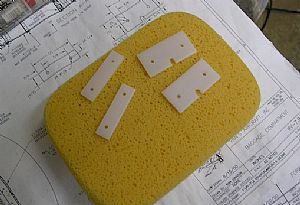 Time to install the F-6114B&C cable wear blocks Time to install the F-6114B&C cable wear blocks
 Since I'm building the barn door before I hang it on the barn, I'm going to try an use Vulcan logic to do a step by step process to get these blocks installed. The first part is easy. Drill the holes and cut the slots. I used a drill bit the same size as the slot width to drill a hole first and the cut the slot using the hole as a go-by. NOTE: All the parts for the wear blocks come a neat little zip-lock bag inside the seat belt cable bag. Since I'm building the barn door before I hang it on the barn, I'm going to try an use Vulcan logic to do a step by step process to get these blocks installed. The first part is easy. Drill the holes and cut the slots. I used a drill bit the same size as the slot width to drill a hole first and the cut the slot using the hole as a go-by. NOTE: All the parts for the wear blocks come a neat little zip-lock bag inside the seat belt cable bag.
|
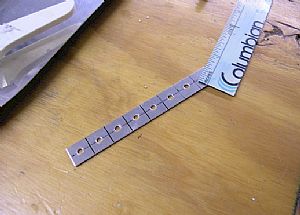 Now for the homemade washers Now for the homemade washers
I drilled the holes first in the part provided before cutting them into the small washers. These washers hold the wear blocks to the back baggage panel when the pop-rivets are installed.
|
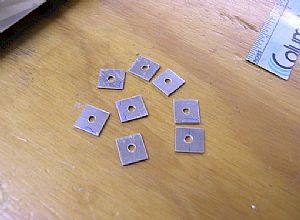 Cut out the separate washers Cut out the separate washers
Get ready. Every washer you cut off with the bandsaw falls off bandsaw and goes dancing across the floor and goes under something. One of mine fell inside my lawn mower. I had to turn the damn thing upside down to retrieve the washer. Of course, my neighbor stopped dead in his tracks to watch me, asking "what the hell are you doing?"
|
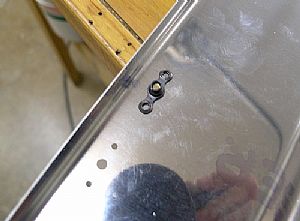 Time to install the nutplates in the bottom panel Time to install the nutplates in the bottom panel
For me, the best way to install a nutplate is get one of the screws that eventually go into the nutplate and put one into the baggage panel hole and into the nutplate (hand tight only!). This lines everything up and ensures that the screw will go in perfectly later. Then drill one hole, cleco it and then drill the other hole.
|
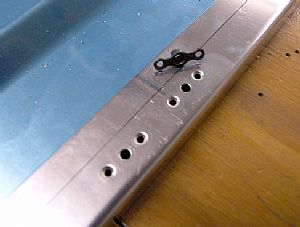 Done! Done!
Dimpling time! I also dimpled the holes in the nutplates using my ATS monster hand squeezer.
|
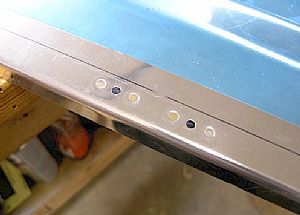 Nutplates are on! Nutplates are on!
|
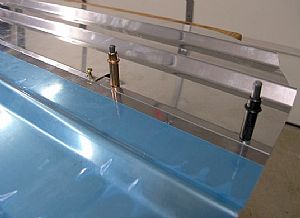 Time to install the F-6114B&C cable wear blocks Time to install the F-6114B&C cable wear blocks
I clecoed and partially screwed (hand tight only!) the top panel onto the bottom panel. The screws put into the nutplates insure the exact positioning of the top panel onto the bottom panel. NOTE: The Black clecos are perfect size for the predrilled nutplate holes in the baggage panel.
|
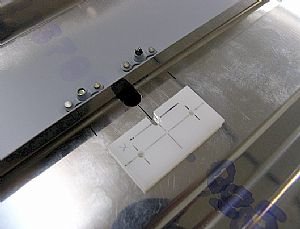 Positioning the first wear block Positioning the first wear block
I made marks on the top panel with my fine point sharpie so I'll know I'm positioned just right over the slit in the top panel.
|
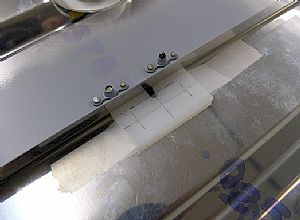 Taped the wear block down Taped the wear block down
I got some of that 3M removable magic tape and taped the wear block into position and drilled the holes, placing a cleco in the first hole after drilling, then drilling the other hole.
|
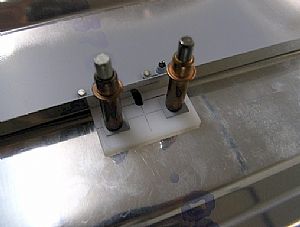 Drilled and clecoed Drilled and clecoed
Note the washers. Cant' forget those guys!
|
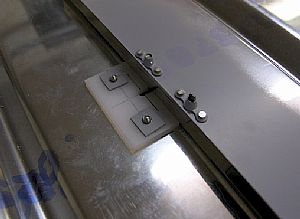 Installed the pop-rivets Installed the pop-rivets
No biggie here. I put the pop-rivets in one at time, trying to hold the washer at a 90 degree angle. I got one of the washers on crooked anyway. Then I found that I could easily rotate the washer after pop-riveting, using a pair of pliers. That made it plum purdy.
|
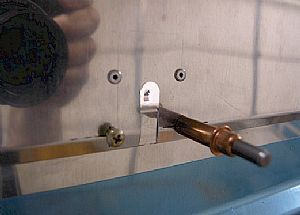 Here's the front view Here's the front view
Pop-rivets and just damn ugly. Ignore the man behind the camera...
|
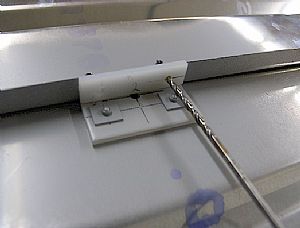 Time for the other wear block Time for the other wear block
I held the wear block in place and drilled the holes in to the bottom panel flange using a 12 inch 1/8 inch drill bit. Clecoing one hole and the drilling the other.
|
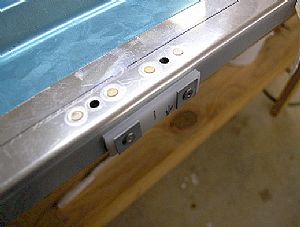 Done! Done!
I pop-riveted the wear blocks on with the washers in place.
|
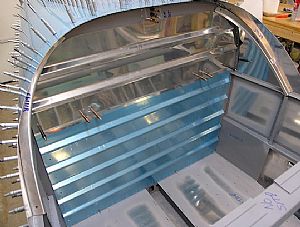 Time for a trial fit Time for a trial fit
Frankly, I just wanted to see what it looked like on the fuselage. I will now remove it once again and mark the holes on the top panel and drill the nutplates holes into it. Then I will put the whole panel back on the fuselage and final drill the nutplate holes into the fuselage bulkhead, using both the top and bottom panels as a drill guide.
|
Home Previous Entry Next Entry Back
|