RV-9A: Top Skins and Baggage Area - 8/18/2009
Home Previous Entry Next Entry Back |
Share on:

|
|
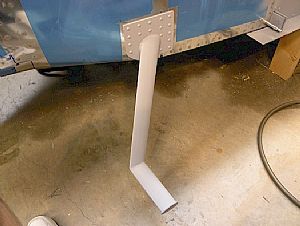 Riveted the Steps on Riveted the Steps on
This wasn't as hard as I thought it would be. I was able to do it by myself. I got off-center on a few rivets and had smilies in the paint, but the hard material wasn't dented at all. So after I primed it again, the smilies were gone.
|
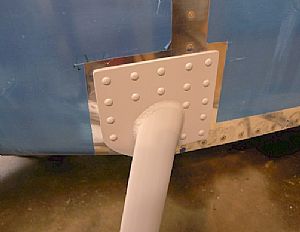 Close up Close up
Here you can see how I had move my line of rivets over to the right a little to make sure that the rivets went into the rib behind the skin. I also left out one rivet on the rib row because it would have gone directly through the weld.
|
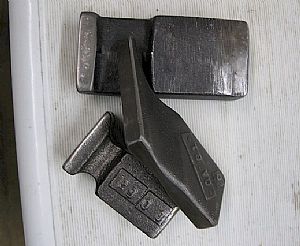 Bucking bars Bucking bars
I used a variety of bucking bars to get to the rivets. The big bucking bar did the majority of rivets. The lower left (fat) bucking bar was used behind the flange of the inner rib and the skinny bar was used on the hard to reach rivets next to the step pipe on the bottom.
|
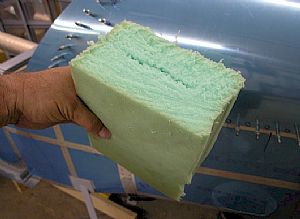 Owww! Owww!
OK, it begins. I was walking around the RV and whacked my shin on one of the new steps. Then I remembered an entry on Mike Schipper's RV-9A website where he bought a couple of foam balls from Walmart and put them over the steps to prevent excessive cursing from pain. My son and I were out shopping one day and I told him that we need to go to Walmart and get some balls for my airplane. Then he said "Wait a minute! I'm not going into a store so you can ask for airplane balls! Why don't you use that extra foam rubber you have in the garage?" Hmm... I hadn't thought of that. So I went back home and cut a couple of chunks of old foam rubber and put a slit down the middle.
|
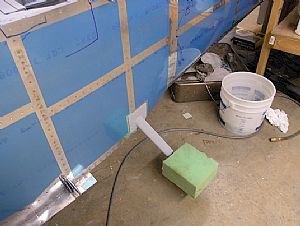 Ain't that cool? Ain't that cool?
It should generate a lot of questions from visitors and a plethora of smart-ass answers from yours truly.
|
Home Previous Entry Next Entry Back
|