RV-9A: Center Section - 11/18/2008
Home Previous Entry Next Entry Back |
Share on:

|
|
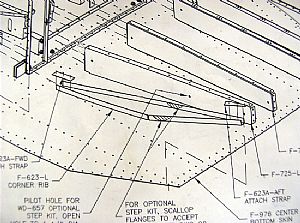 Started work on the F-623 Ribs Started work on the F-623 Ribs
I'm back!! My wife and I decided to remodel our guest bathroom after my son accidentally broke off the shower handle at the nub. We decided to go all out on this project, new tile around the tub and potty, new tile on the floor, new paint on the walls, ceiling and cabinet, new light fixtures and a fancy mirror border. I have a new appreciation for those guys who do tile work for a living. For me, it was right up there with building the RV tanks. I finished the tile work and we are now in the downhill run with the paint and other stuff. I'll post some pictures when it's finished.
Now, back to the project. Figuring out the F-623 outer ribs was very confusing and by looking at other builders comments about this part, they were confused too. Basically what it boils down to, is cutting off each end off the ribs so they don't touch the flange of the spar at each end of the rib. Then you cut two small pieces of scrap (032) from the tailkit scrap bundle to attach the F-623 to the spars on each end.
|
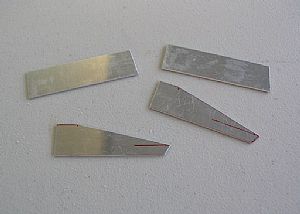 Now for the F-623A attach straps Now for the F-623A attach straps
I looked long and hard for the material to cut these puppies out of. I finally gave up and went to the sheet metal bundle that came with the tailkit after identifying the 032 material with my calipers, I was in business. Here are the attach straps, fore and aft.
|
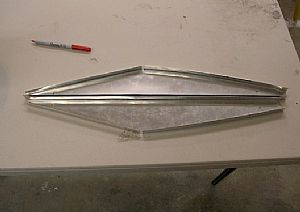 Making the cut on the F-623 ribs Making the cut on the F-623 ribs
I put one of the ribs into position and then marked on each end where the ribs needed to be cut off, using the existing spars flanges on each end as the cut off point. Then I used that rib as a pattern to cut the other rib. Here's the trimmed rib and then uncut rib.
|
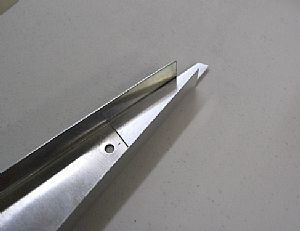 Here's the aft end Here's the aft end
I'm not sure exactly where the attach piece rivets on, but I'm sure it will sefl-dictate when the time comes.
|
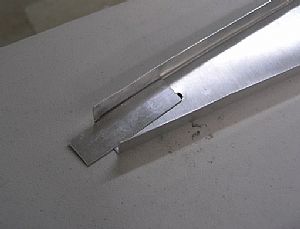 And the fore end And the fore end
In the next session, I will final drill the ribs into position using the bottom skin on the center section as a drilling guide.
|
Home Previous Entry Next Entry Back
|