RV-9A: Flaps - 11/30/2007
Home Previous Entry Next Entry Back |
Share on:

|
|
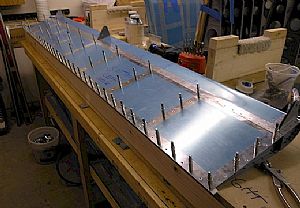 Put in all the Pop-rivets on the bottom skin of the left flap Put in all the Pop-rivets on the bottom skin of the left flap
I clecoed in the trailing edge and the drilled out the holes in the bottom skin over the ribs to install the flat-head pop-rivets.
|
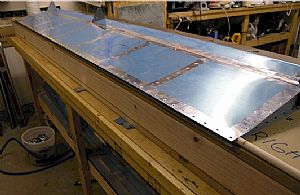 Time to set up everything for Prosealing the trailing edge Time to set up everything for Prosealing the trailing edge
The instructions don't say anything about prosealing the trailing edge wedge, but it just makes sense to me to do it, since it's just like the rudder. Can't hurt. I went to Home Depot and bought two - four foot long - 1/2 inch dowel rods and inserted them just behind the end of the ribs, under the skin.
|
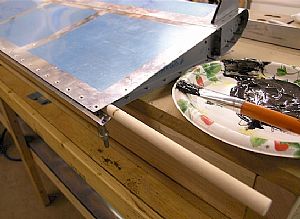 Ready to start slopping on the black snot from hell Ready to start slopping on the black snot from hell
Next I mixed up 40 cc's or proseal.This stuff smells worse than my sons feet after a track meet. I went to a foo-foo arts and crafts store and bought a short-hair stiff paint brush to use to apply the proseal. I started off by putting some on the bottom skin and then put in the wedge, held from the bottom with a couple of clecos. Then I put a layer of proseal on the top of the wedge. Then it was just a matter of sliding out the dowel rods, allowing the skins to close in around the aluminum wedge.
|
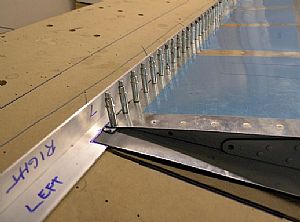 Clecoed every down Clecoed every down
I pulled out the aluminum angle where I drilled the trailing edge rivet holes into and clecoed the trailing edge down to it and into the previously drilled holes in the work table. Now all I need to do is wait a couple of days to starting riveting the trailing edge.
|
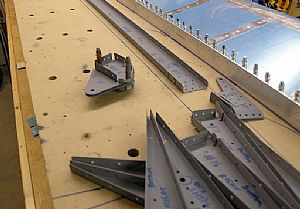 Started work on the right flap Started work on the right flap
Here we go! Now that I know what I'm doing (arr-arr) this flap should go together much easier.
|
Home Previous Entry Next Entry Back
|