RV-9A: Preparation - 12/21/2004
Home Previous Entry Next Entry Back |
Share on:

|
|
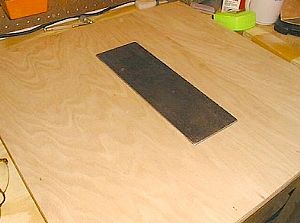 Created a board for back riveting Created a board for back riveting
I found a 1/4" steel plate at Home Depot in a big rack containing all different sizes of aluminum and steel.
|
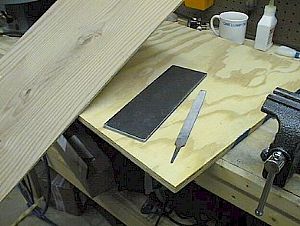 Gathered up scraps to make the back plate board. Gathered up scraps to make the back plate board.
I found a 2' x 2' piece of 3/4" CD plywood that was left over from building the workbench. I also had a half sheet of 1/4" plywood.
|
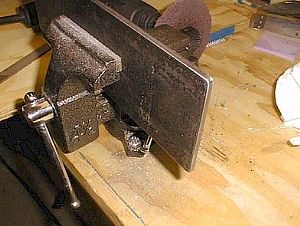 Rounded off the edges of the steel plate. Rounded off the edges of the steel plate.
Using the bench grinder (not the new deburring wheel), I rounded off the corners of the steel plate. Then I put it in my vise and filed the corners smooth and rounded off the sides of the plate. I found a small finishing wheel at a local auto parts store and used my drill to polish everything off. All this smoothing should help prevent denting and scratching of the aluminum.
|
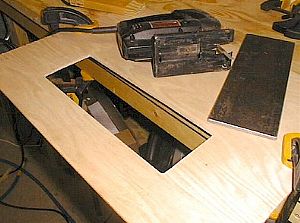 Cut out a whole in the plywood. Cut out a whole in the plywood.
After tracing the steel plate onto the 1/4" plywood, I cut the whole out with my jig saw.
|
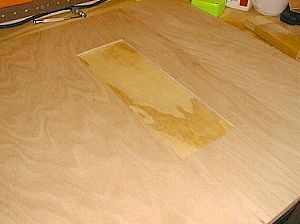 Assembled the back board. Assembled the back board.
I cut the 1/4" plywood to match the size of the 3/4" CD plywood and attached the 1/4" plywood to the 3/4" plywood using my pneumatic staple gun. Then I plopped the steel plate in the hole. I didn't attach the plate so I would have it available for any other tasks that may require it.
|
Home Previous Entry Next Entry Back
|