RV-9A: Right Fuel Tank - 1/10/2007
Home Previous Entry Next Entry Back |
Share on:

|
|
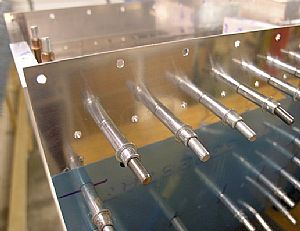 Final drilled the tank to wing spar screw holes Final drilled the tank to wing spar screw holes
I used a #19 drill bit to final drill all the holes where the tank screws to the main spar, plus the holes where the tank screws to the W-919 splice strip.
|
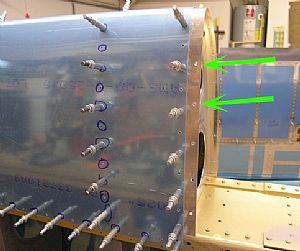 Final drilled the W-919 splice strip Final drilled the W-919 splice strip
This also called for a #19 Drill bit. This is where the side of the tank will screw into place, next to the leading edge.
|
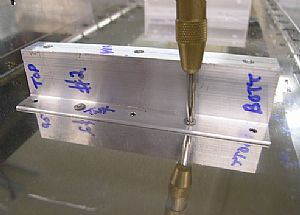 Time to remove the temporary pop-rivets from the Z angles Time to remove the temporary pop-rivets from the Z angles
I used my spring loaded punch to push the nail in the pop-rivet out of the way so I could drill out the pop-rivet with my #30 drill bit. This was a little bit tedious since the temporary pop-rivets did not apparently realize that they were “temporary”.
|
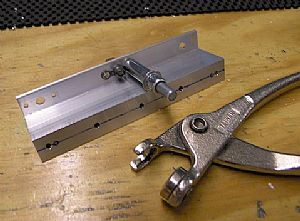 Started work on drilling the rivet holes for the nutplates Started work on drilling the rivet holes for the nutplates
I put on the tank attach bolts through the hole of the Z angle and into the nutplates, but not all the way in. Then I lined everything up and drilled on the rivet holes and put a cleco into it. Then it was just a matter of drilling out the other hole, using the nutplate as a drill guide. Now, only 17 more nutplates to do!
|
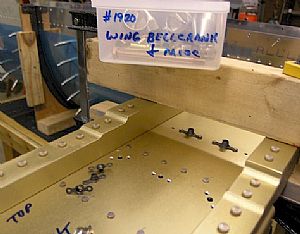 Getting ready to rivet on the tank attach nutplates Getting ready to rivet on the tank attach nutplates
The bag that contained the nutplates for the Z angles only had enough to do the Z angles. I freaked out because I thought that that bag should surely have the three nutplates for the main spar tank attachments as well. But nooooo…. After a considerable amount of time digging in all the containers, I found the #1920 bag contents that had some more of these same nutplates. I love the description “Wing Bellcrank and Misc”. I guess it means “If you cain’t find it anywhere, look in here”. OK, enough ranting. I countersunk the holes in the main spar for the flat-head rivets that hold the nutplates.
|
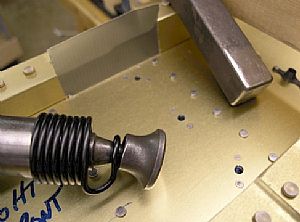 Done! Done!
Thanks to my 11 year old riveting genius of a son, we riveted on the nutplates behind the spar.
|
Home Previous Entry Next Entry Back
|