RV-9A: Right Fuel Tank - 1/5/2007
Home Previous Entry Next Entry Back |
Share on:

|
|
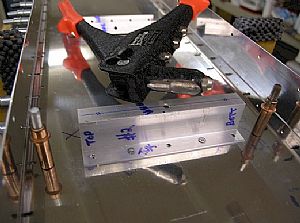 Pop-riveted the attach angles to the tank assembly Pop-riveted the attach angles to the tank assembly
I clecoed the 2 end ribs of the tank assembly to the outer attach angles from the inside. Then I put these temporary pop-rivets in 2 holes on each bracket. You’ll notice that the pop-rivet gun has the top part of the nose grinded off to allow it to get into position.
|
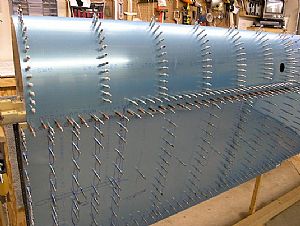 Clecoed the tank on to the right wing spar Clecoed the tank on to the right wing spar
You’ll notice here that I didn’t put some of the 3/32" clecos in because they hit the reinforcement bars of the main spar. The weird part about this is that when I put the left tank on the spar on the other wing, the tank wouldn’t go down all the way. I had to pull down on the 1/8” clecos on each side for it to be slowly pulled down into position. Here, the right tank just plopped right into position by itself. Go figure.
|
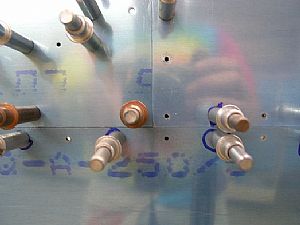 Nice fit! Nice fit!
There is a tiny gap where the tank meets the lower skin, but I know now from working on the other wing that it will fit snuggly when the tank is finally installed.
|
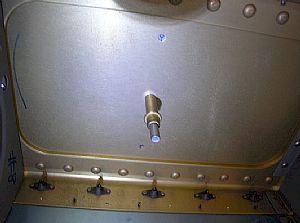 Clecoed the main spar to the tank Z brackets Clecoed the main spar to the tank Z brackets
I put one 3/16" cleco into each tank bracket and drilled the holes into the brackets of the fuel tank using the main spar as a drill guide. I tried to not push too hard while drilling. I didn't want the Z tank brackets to push over on the other side of the main.
|
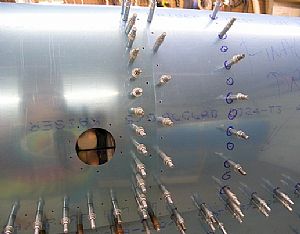 Drilled the holes into the W-919 Joint Plate Drilled the holes into the W-919 Joint Plate
The W-919 Joint Plate is also called the "splice strip" in the instructions. I used a #30 drill bit for these holes. The instructions don’t indicate the drill size. It just says to "Drill the screw holes". I know that these holes will be drilled out again later for the screws and nutplates using a #19 drill bit.
|
Home Previous Entry Next Entry Back
|