RV-9A: Left Wing Skins - 10/11/2006
Home Previous Entry Next Entry Back |
Share on:

|
|
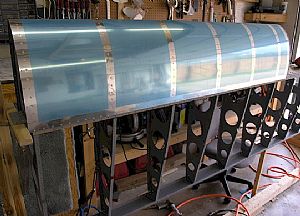
 Riveted the Leading Edge Assembly to the wing spar Riveted the Leading Edge Assembly to the wing spar
Wow, what a job! I decided to rivet the inner ribs to the spar first before riveting the skin. I will need to go on a diet before starting the right wing. My arms are a little too fat to fit thru some of the access holes in the spar.
|
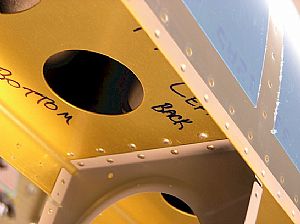
 Here is a riveted rib Here is a riveted rib
Notice how small the access hole is? I just barely managed to get my hand through the hole to hold the bucking bar in place.
|
 Yeah right… Yeah right…
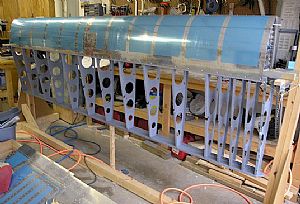
When I got to this rib-riveting session I threw in the towel. To get a bucking bar to this rib, you would have to reach in through 3 rib holes (past your elbow) and then somehow contort your body to actually drive the rivets with the gun. I made a call to a good friend of mine and begged for help. Luckily he has experience with this type of thing and knew just what to do. He put his arm through the lightning holes of the ribs on the inboard end of the leading edge assembly and bucked the rivets while I riveted and everything from below and everything came out perfect. When I get to the right wing, I’m going to invite him over to help me on all these rivets. Thanks DUDE!
|
 Tank time Tank time
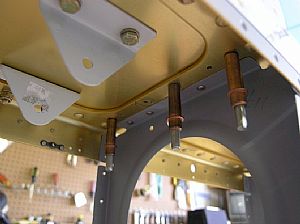
While my buddy was still around, we decided to go ahead and mount the tank. We put in every other screw and bolt, as indicated by the instructions. I am still amazed at the incredible fit of all the pieces that go into this aircraft. When we put the tank in place, the gap between the leading edge assembly and the tank was absolutely perfect. It even “squeeked” a little as we screwed it into position.
|
Home Previous Entry Next Entry Back
|