RV-9A: Horizontal Stabilizer - 10/5/2005
Home Previous Entry Next Entry Back |
Share on:

|
|
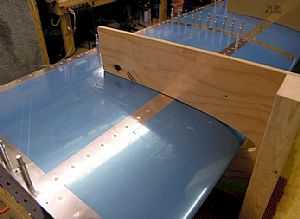
 Started riveting the Right Horizontal Skin to the Front Spar Started riveting the Right Horizontal Skin to the Front Spar
This wasn't as hard as I thought it would be. I laid the skin over on its side while still in the cradle blocks and supported the left side of the spar with some wooden blocks. I started riveting every other rivet and put Removeable Magic Scotch Tape (from Office Max) over each rivet to prevent scratching up the skin. I checked each one with Averys Shop Head Rivet Gauges to make sure each one was perfect. Yeah, I know some people are wondering why I laid the cradles over on their sides to rivet. To me, it was just easier to handle the rivet gun and bucking bar with the skin laying on it's side.
|
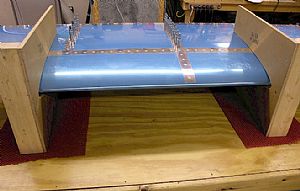
 How to prevent the skin from scooting around while riveting How to prevent the skin from scooting around while riveting
I learn a lesson from my wife on this one. She put a rubber mat under one of her favorite throw rugs on our genuine imitation wood floor (pergo). That dude doesn't bug. So I bought some and put it under the cradle blocks. Not only did it prevent the skin from moving while riveting, it also helped stop the cradle blocks from moving side to side.
|
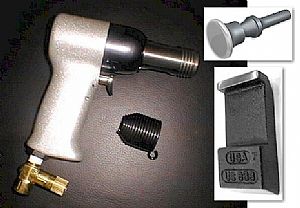
 Here are my riveting tools Here are my riveting tools
I ordered my Rivet Gun from Aircraft Spruce. When I received it, it had a complimentary spring attachment and a air volume control. That was unexpected. I ordered a Swivel Flush Rivet Set head from Aircraft Tool. It makes a straight drive no matter how crooked I hold the rivet gun. The Bucking Bar came from Avery Tools. It is narrow enough to fit between the clecos when bucking a rivet.
|
Home Previous Entry Next Entry Back
|