RV-9A: Flaps - 11/28/2007
Home Previous Entry Next Entry Back |
Share on:

|
|
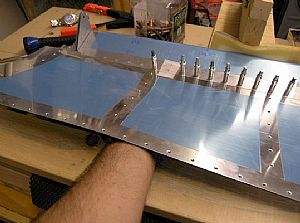
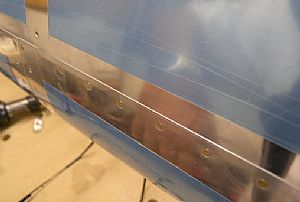 Finished riveting the leading edge on the left flap Finished riveting the leading edge on the left flap
I decided to roll the edges of the leading edge skins and I'm now glad I did. What a nice fit! I wish now I had done it on the ailerons, as you'll see in the next picture.
|
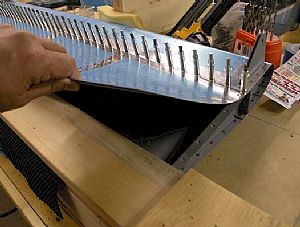
 Here's a shot of the aileron leading skin for comparison Here's a shot of the aileron leading skin for comparison
Here's the weird thing. The left aileron leading edge skin laid down perfectly when riveted, but the right aileron leading edge skin did not. I also noticed that before installing these leading edge skins that they were formed differently at the factory. I guess one was the "old way" and the other was the "new way". Well, I've learned my lesson here. When in doubt in an overlay situation, roll that dude!
|
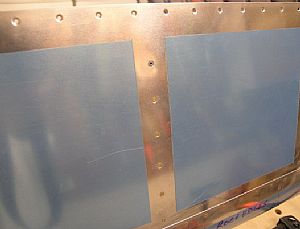 Riveted the top skin on to the left flap Riveted the top skin on to the left flap
You'll notice here that I used a flush pop-rivet in place of the final rivet. I just could not figure out a way to get any size bucking bar inside that small slot in the rib.
UPDATE 12/29/2007: When I go this point in the right flap, I found a way to do this difficult rivet, check it out.
|
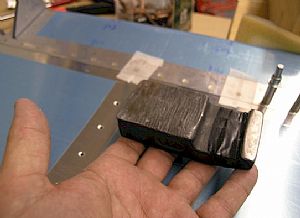
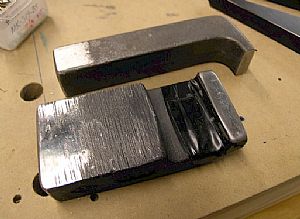 Making the bucking bars do more than they were designed to do Making the bucking bars do more than they were designed to do
Here I needed something short and stubby to buck some of the rivets in the flaps. So I used the old Scotchbrite wheel on the grinder and smoothed off a couple of edges on the bucking bars to use in the those tight places.
|
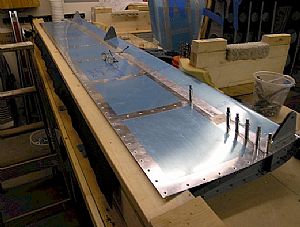
 Getting ready to rivet the bottom skin to the left flap spar Getting ready to rivet the bottom skin to the left flap spar
Last night I went to bed thinking there was no way in hell to rivet this part. I saw on Bret Smiths website where he used some 1x4's and clamps to hold the top of the flap flat on the table top, which the instructions ask you to do. So I decided to get a really straight 2x4 and push it up under the skin, but on top of the ribs. Then I lightly clamped it down to the table on each end.
|
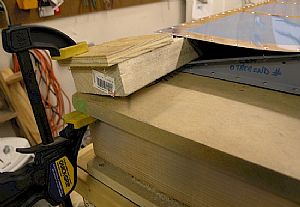 A better shot of how the 2x4 was positioned A better shot of how the 2x4 was positioned
|
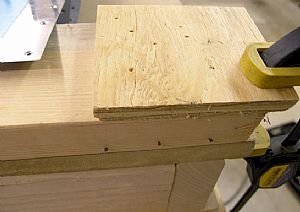 Now to fix the 2x4 so it won't move Now to fix the 2x4 so it won't move
I got out my pneumatic brad nailer and put in 2 inch brads on each end of the 2x4 into the table top. This way the 2x4 will hold everything down without putting a lot of pressure on the ribs.
|
 Hmm... This might just work! Hmm... This might just work!
|
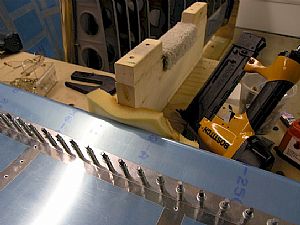 Now to keep the flap from scooting away from me Now to keep the flap from scooting away from me
I pulled out my old wing spar jigs and put the ends against the leading edge skins with a generous hunk of foam rubber between the skin and the jig. Then I put a couple of brad nails into the jig and into the work table. This flap ain't gonna' move while I'm working on it!
|
 Here we go! Here we go!
I found that the only way to get the correct angle for the bucking session was to lay the bucking bar on my fingers and then push the end of the bucking bar up to meet the rivet.
|
 Ouch! That's a tight fit! Ouch! That's a tight fit!
After a couple sessions of skin scrapings on the board, I went inside and got a long sleeve shirt and taped it down onto the back of my hand, with the tape going all the way out to my knuckles. Dat'll work!
|
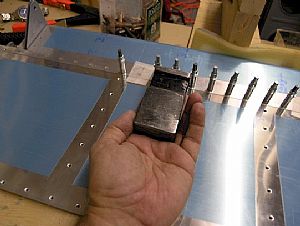
 Now for riveting the skin, spar and rib intersection Now for riveting the skin, spar and rib intersection
The only way I found to get this rivet was to turn the bucking bar sideways and push it up under the rivet with my finger tips. You'll notice that this bucking bar has the edge polished off with the Scotchbrite wheel.
|
 Thar's tis! (Well, almost finished) Thar's tis! (Well, almost finished)
Momma just pulled into the garage. Time to stop work. Gotta' keep Momma happy, don't ya' know...
What's that saying? "If Momma ain't happy, ain't nobody..." well, you know the rest.
|
Home Previous Entry Next Entry Back
|