RV-9A: Rudder - 11/1/2005
Home Previous Entry Next Entry Back |
Share on:

|
|
 Started work on the Rudder Skeleton Started work on the Rudder Skeleton
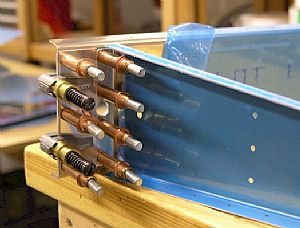
Clecoed the bottom rib to the front spar and final drilled the holes. Also created a small 3 1/2 x 1 1/8 inch shim from a long piece in the kit that was already 1 1/8" inches wide.
|
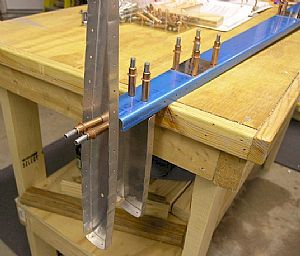 Clecoed on the reinforcement plates, tip and counterbalance ribs Clecoed on the reinforcement plates, tip and counterbalance ribs
Then I final drilled everything with a #30 drill bit.
|
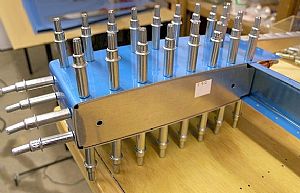 Clecoed on the counterbalance skin Clecoed on the counterbalance skin
I removed the top ribs from the spar and clecoed on the counterbalance skin on to the ribs. Then I put the whole assembly back on the spar and final drilled the skin with a #40 drill bit. This was the tightest sock I ever put on! I started clecoing on the end of one side and worked my way around to the other with the clecoes.
|
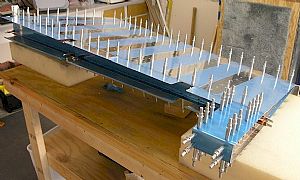 Clecoed on the outer skin Clecoed on the outer skin
Wow! This dude is huge! After I inserted the rudder trailing edge and got everything clecoed together, I was amazed at how stout this thing is.
|
Home Previous Entry Next Entry Back
|