|
Share on:


|
|
|
Nutplates are on!
There where also a bunch of screws that were in a ziplock bag along with a matching allen wrench. The instructions didn't say what to do with these screws. I noticed that the two outside connections had screw holes without any screws in them. So I assumed that this was done so you could remove the outside connections and turn them in another direction. So I just installed the screws in these holes. After a few screw turns, the allen wrench that came with the kit stripped and I had get one of my "good" wrenchs to finish up.
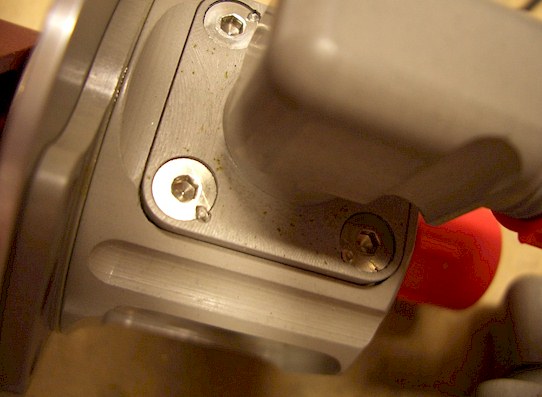
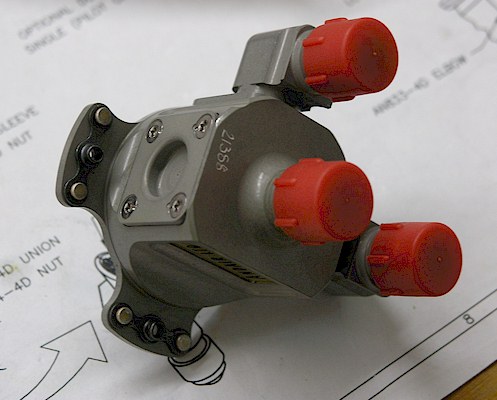
UPDATE: 6/9/2010 Hold the Phone! I just found out that the screws that hold the two side pieces on have to be staked. Someone on Van's Air Force Forum found that these screws had come loose and starting leaking fuel. There is a small (really small) notch in the metal around the edge of the screw on the switch itself and you have to "stake" the edge of the screw into this notch to make sure that these screws never work their way out. I had disconnect everything pull the switch off to stake these damn screws. The instructions didn't say crap about any of this. They provide the notches in the switch around the screws but don't tell you what they are for. Here's a picture I "borrowed" to show what this whole thing is supposed to look like. I payed a lot of money for this switch. I should have stuck with Van's switch.
|
|


